|
My three logo variations is a nickname that I made up for myself. I replaced the colors for the third one and I made a different design for the "o" in nomnom. The tools I used were the pen too and the circle drawing option. I also used drop shadow for the "o" in the logo. The most frustrating thing was when I had to do the legs of the ladybug or the chocolate of the cookie. I overcame it by copy and pasting. I enjoyed writing the words and drawing the frog because it was fun to do. As I saw the project become finished, I was relieved and satisfied of what I did. 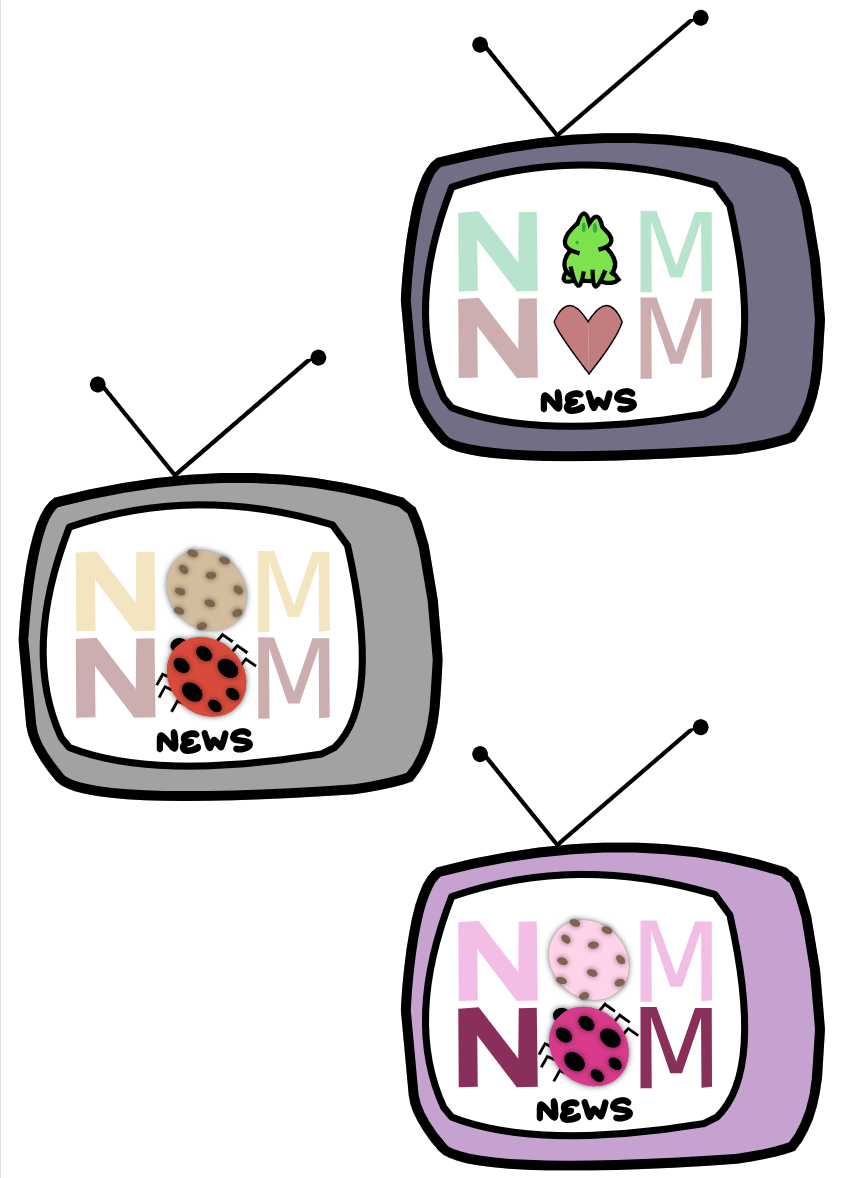 The name of my brand is nomnom news. I just wrote the name of my brand and replaced the "o" in the word and drew something else. The brand is just a news reporting show. This represents myself because some people know what nomnom news is. My favorite one is the grey one because I like chocolate chip cookies and ladybugs. I liked how I tried to do a pink theme and then a total different theme by changing the icons instead of the color. It was fun drawing the frog and the cookies because they look cute. 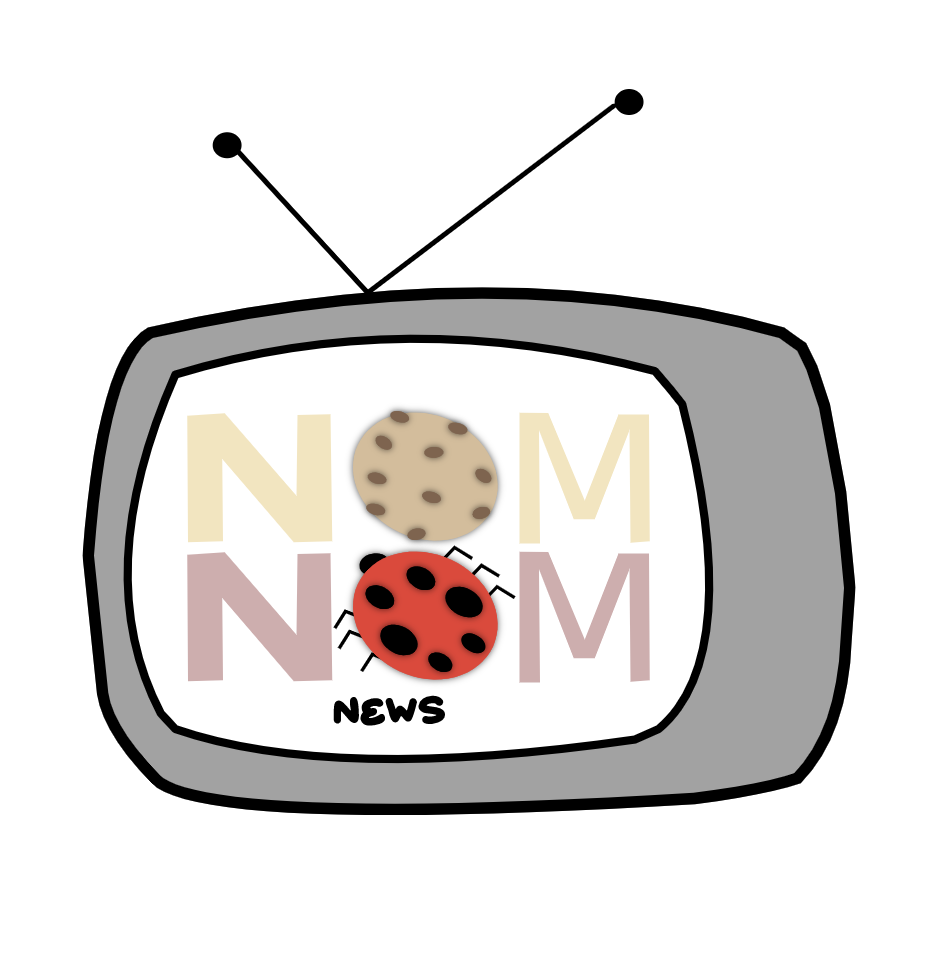
0 Comments
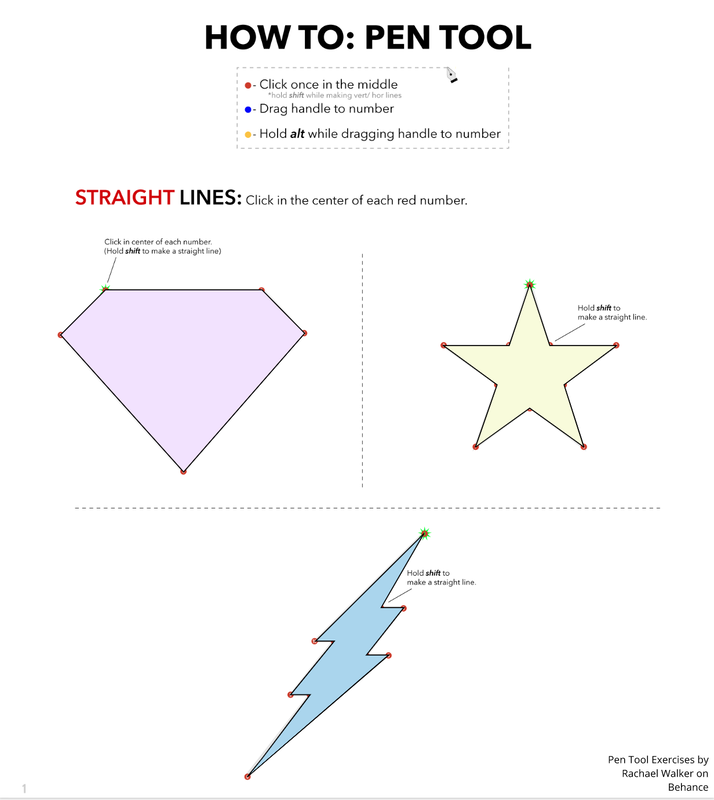
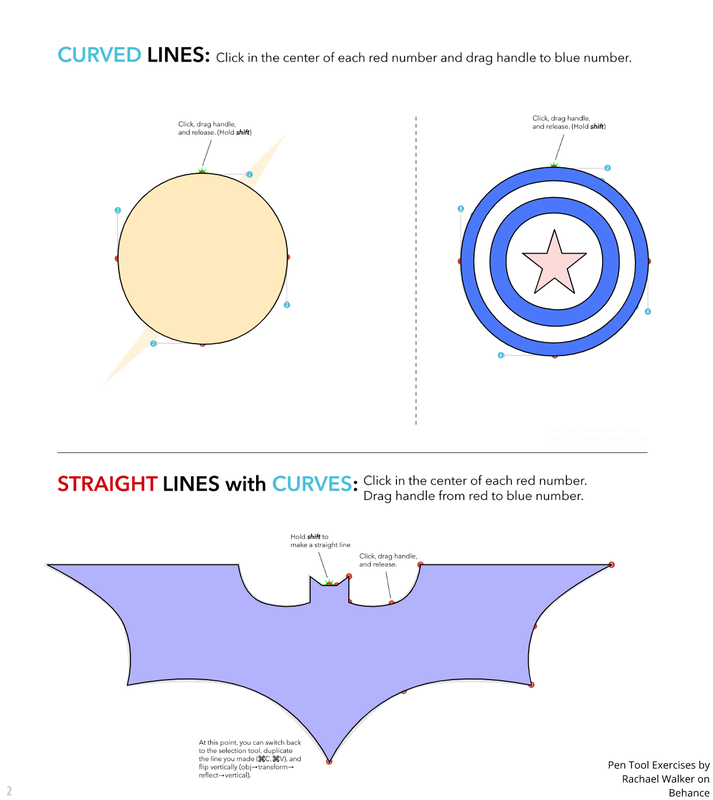
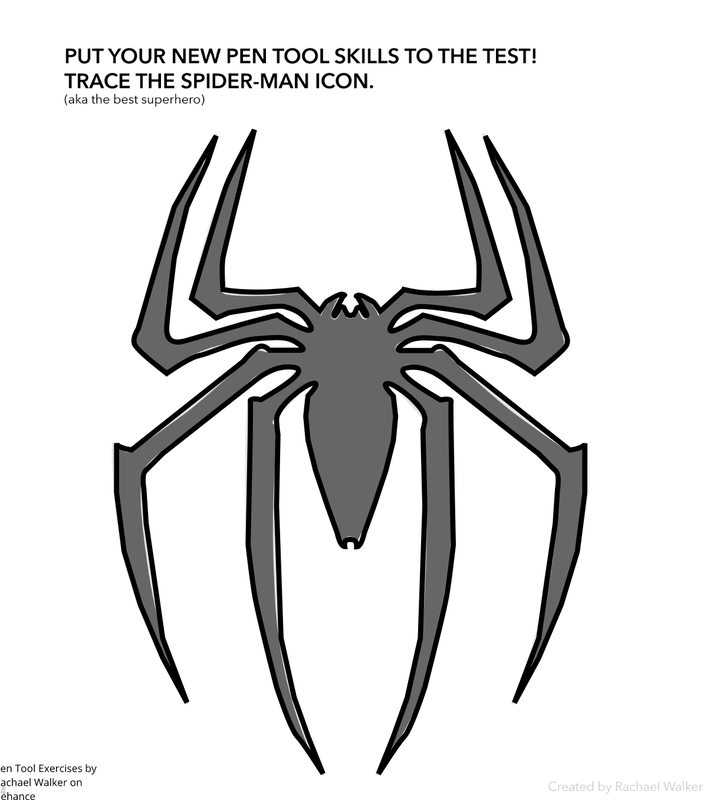
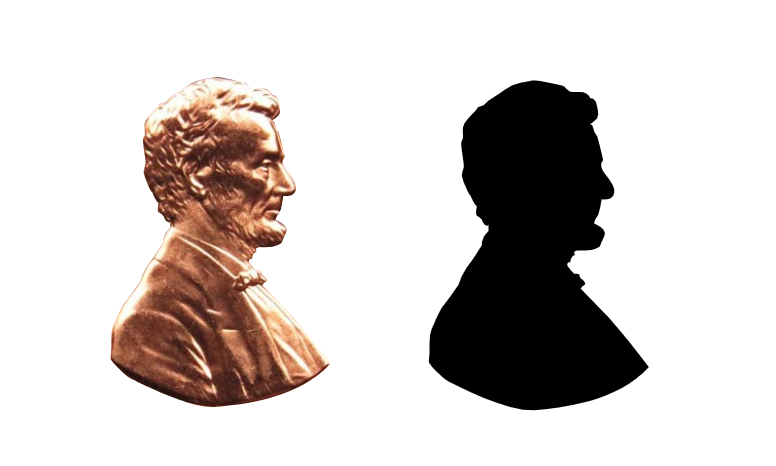
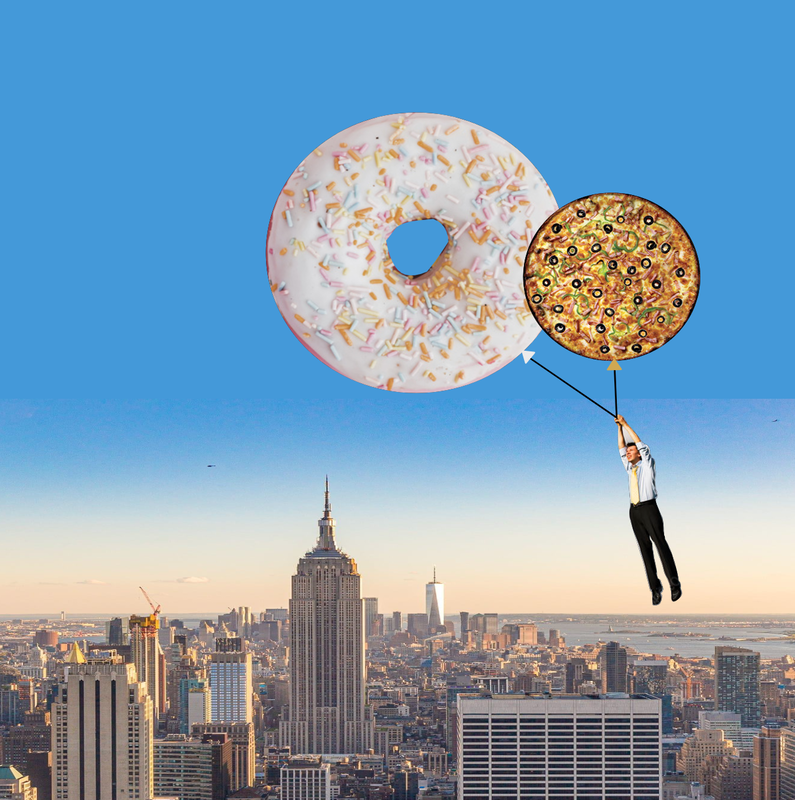
For this lesson, I have done two assignments. One is called Color Names and the other is called Color Schemes. For these two assignments, I was asked to find different 35 different colors (15 for the color names and 20 for color schemes). I made a more complex design to use the colors I made. I also had to include the Hex codes to name each color. Some challenges I faced was writing all the hexcodes because I would have to go back and forth. I overcame this challenge by writing it on paper and then imputing it on the computer. Some successes I had was drawing the design. I am proud of how the colors match up with my design and how it looks good uniquely. The tools that I used in Gravit was the pen tool to make the shapes. I used Adobe Color to get the color combinations to use. Color Names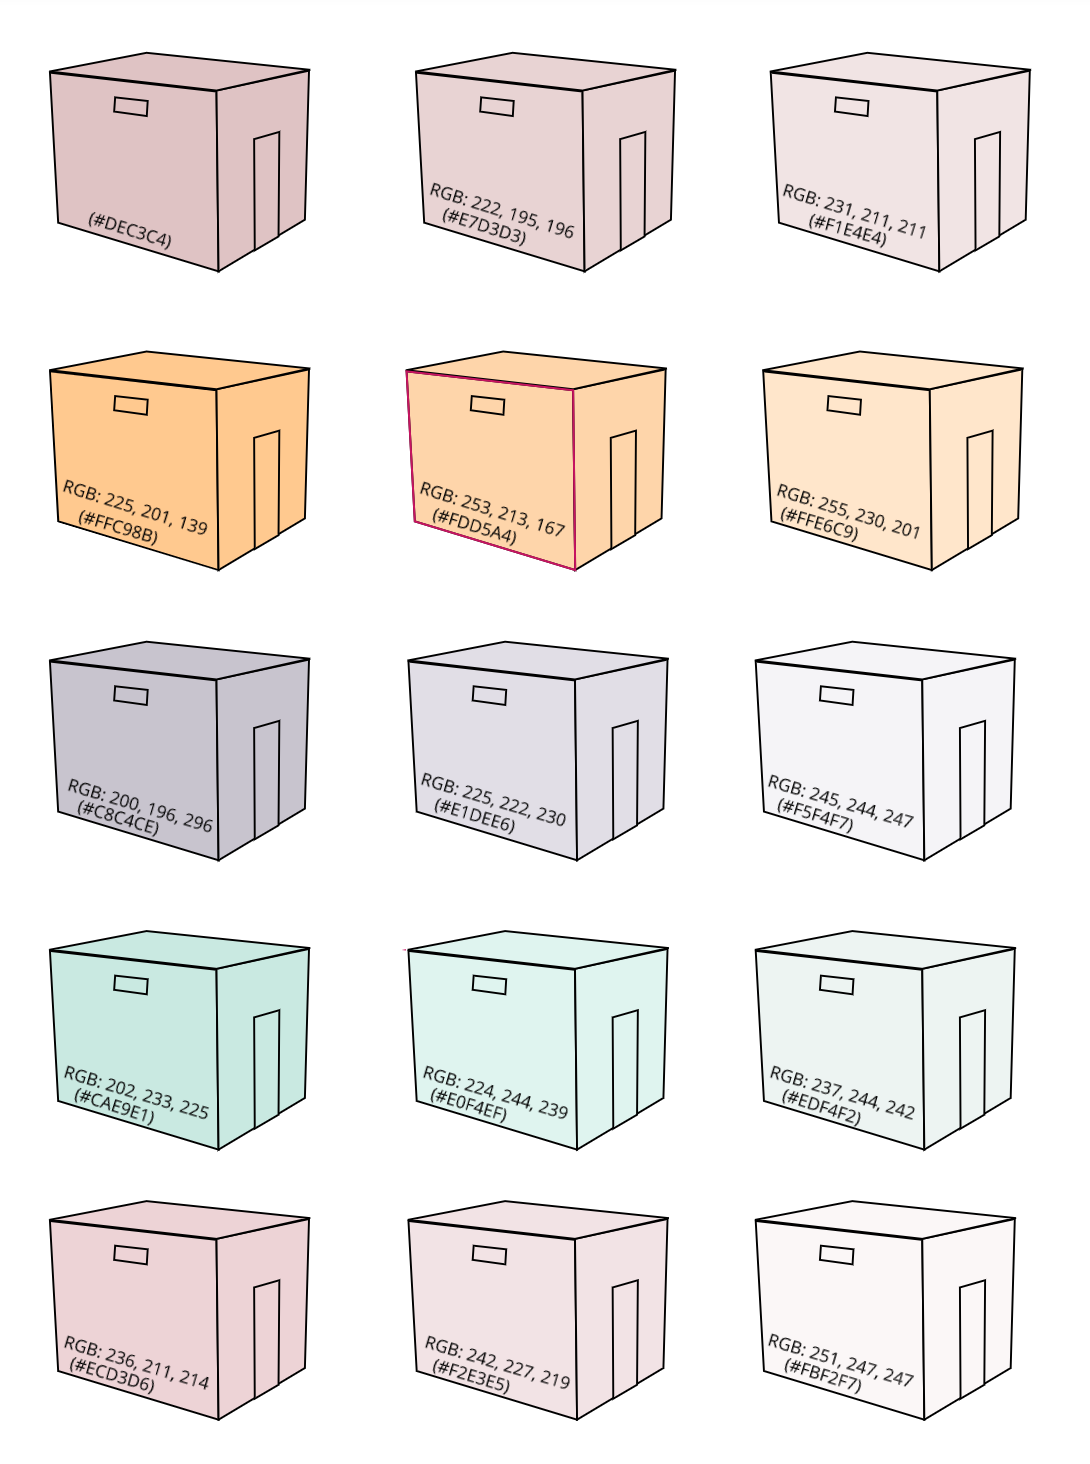 Color Schemes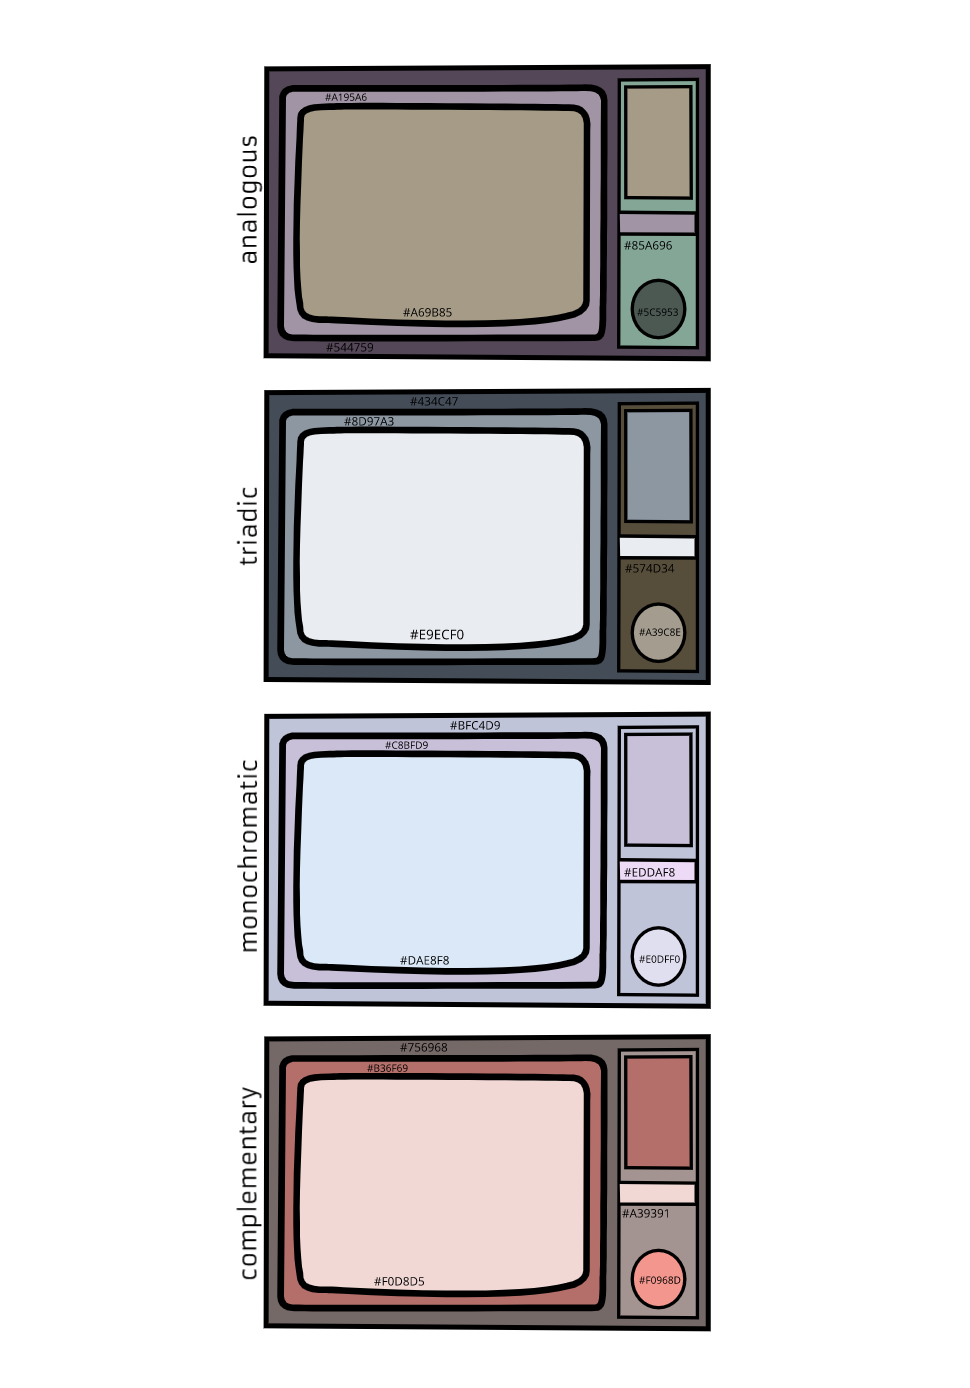 Typography is a style and appearance that is printed. Typography is important because it creates a consistent design that is good to see. The quote, "Each font has a personality and a purpose" means that each font you chose would match or wouldn't look good depending on how you use it. Five different fonts we learned was: Serif: has "legs" on the ends of the letters; can be used in newspaper titles San Serif: is smooth and is mostly seen in google docs, etc and commonly used Monospaced: has equal amount of spaces in each letter; found Script: is fancy/cursive; is like calligraphy and an example where it can be used can be a letter/invitation Display: funky fonts; advertisements, games Typeface ComparisonIn the Typeface Comparison assignment, I used the same word but in different types of fonts (serif, san serif, monospaced, script, and display). I wrote each type of font and the name of the font on the side. The image below shows my work: 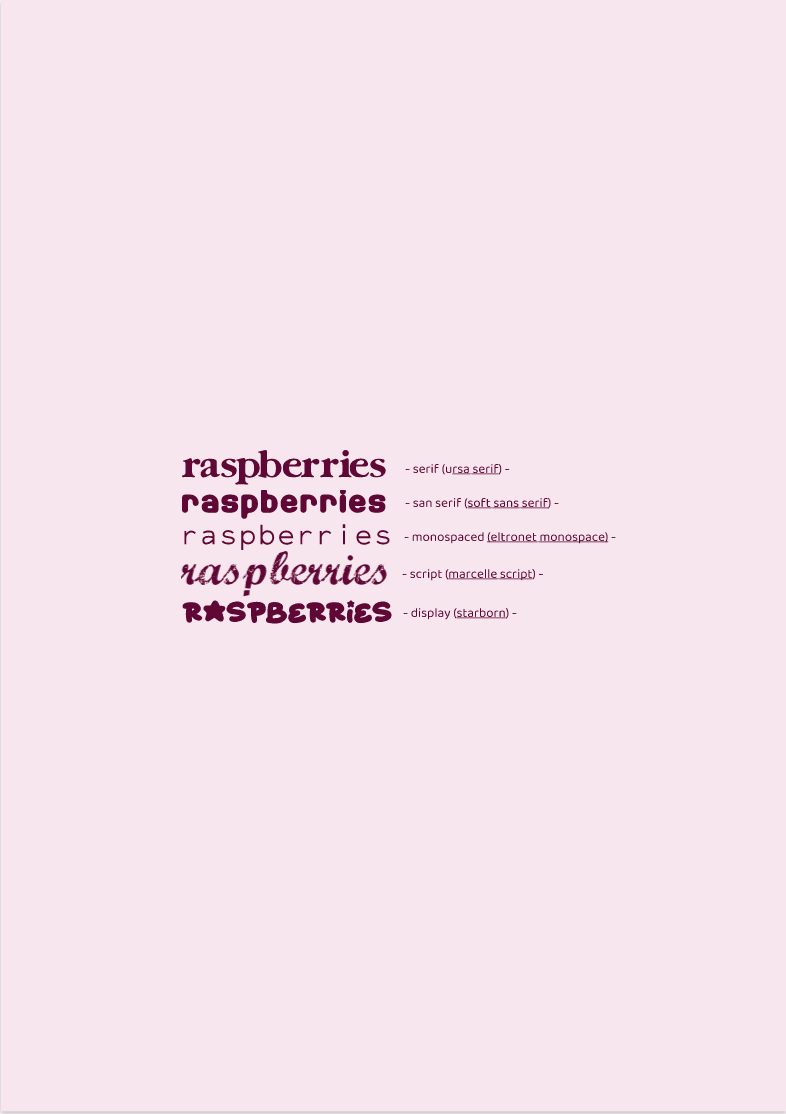 Word PortraitsAnother assignment I completed was called the word portrait. This time I used 10 different fonts with different words each time. I used a word that will match the font and next to it would be a word that I think doesn't match with the font I used. Afterwards, I wrote the name of each font on the right corner of each row. 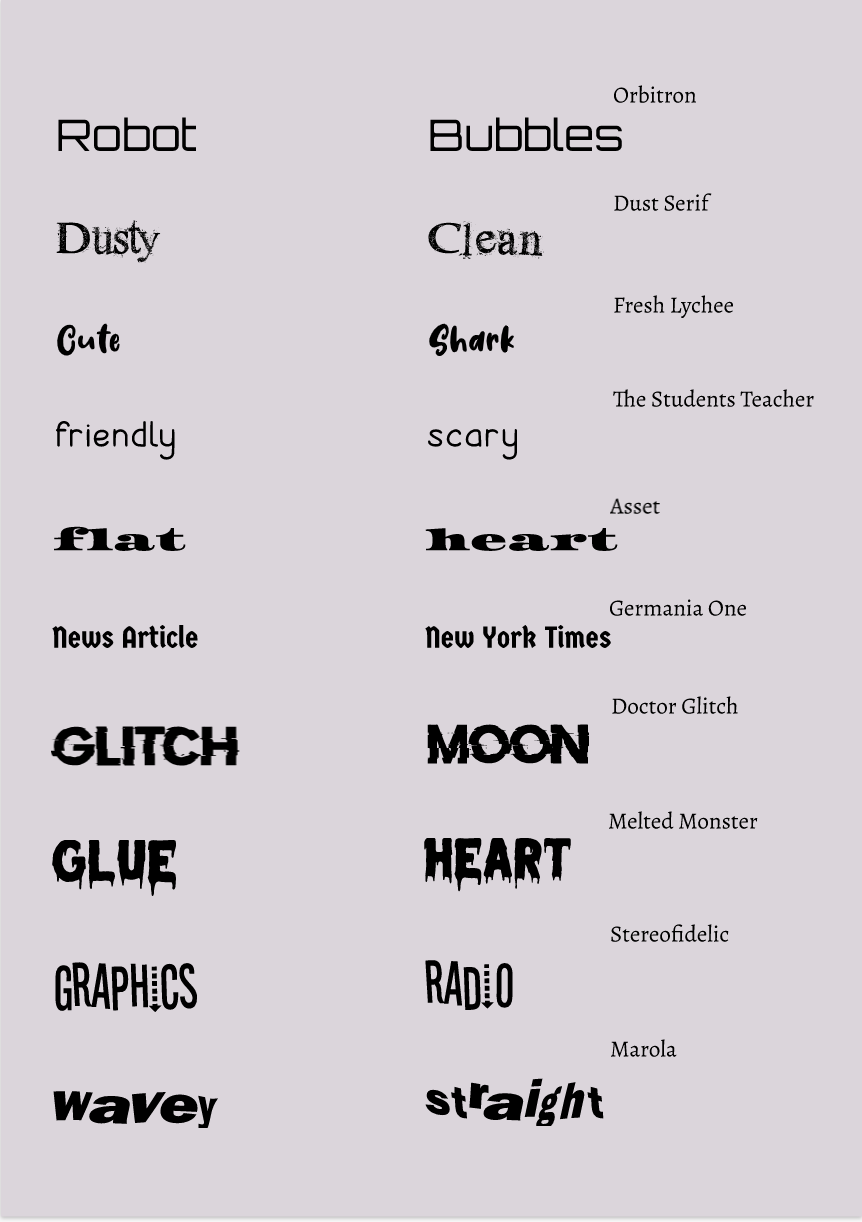 In class, we learned how to cut out pictures, make shapes, and to layer, group, and align shapes. I created this scene by cutting out 3 pictures: donut, pizza, and a person on a background. The pen tool cuts out and makes unique shapes easily. We did many assignments relating to using the pen tool. We did the penny assignment by cutting out the man in the middle. I also did the superhero tracing using the pen tool to create new shapes. I used the option button to change the direction of the cut out and if you drag your touchpad outwards, it would make a round shape. For the Spiderman icon I used all the skills I learned from the previous lessons and videos provided in class. Below are the screenshots of the exercises that I completed in class. This pen tool summative has no specific meaning and was just made out of creativity. The scene I created is a man flying out with food balloons. Some challenges I faced while making this was how I needed to match the background color with the image. I overcame it by just using the eye drop button. Here are the screenshots:
  In this class, everyone was given a summative project that meant something special to us. I chose this scene because it represented what I like to eat and do. I used simple shapes and converted some shapes to paths so that I have a variety of shapes in this. As you can see on the top left, I have these rectangular postcards with an "EN-" this is one of my favorite kpop groups that I like. On the bottom, I have my phone because I like using my phone to go on to browse websites and to make edits. The main part of this scene are the snacks on the plate. These are my favorite food that I like to eat. I tried to create a unique cookie instead of a chocolate chip cookie because I thought it would look a bit boring. I also love fruits; especially berries. Additionally, I love eating waffles with milk for breakfast. These things I made for this summative are very special to me because these are the things that I love. 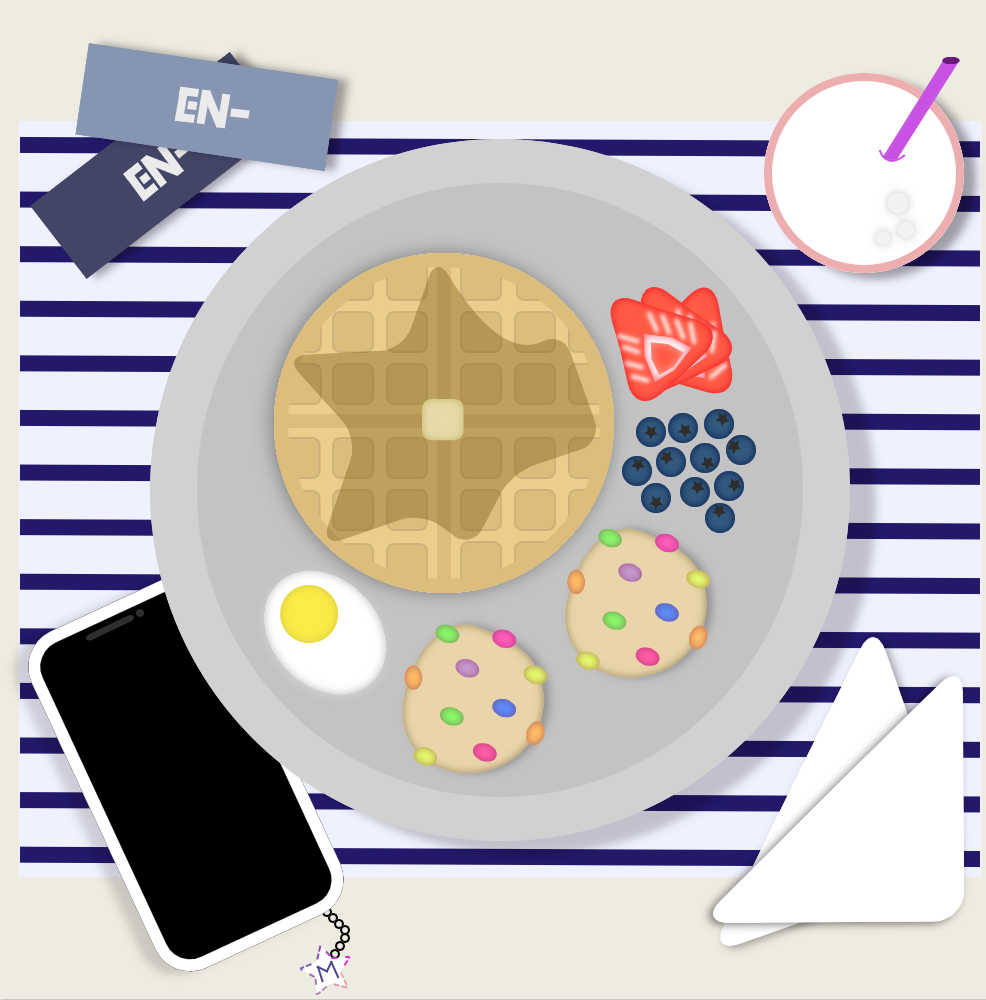 In today's lesson, I learned how to modify shapes and to smoothen the corners of the shapes. In addition, I learned how to union, subtract, intersect, and difference shapes which are the shapes on the third row of this picture. I enjoyed playing around and making cool shapes during this lesson. 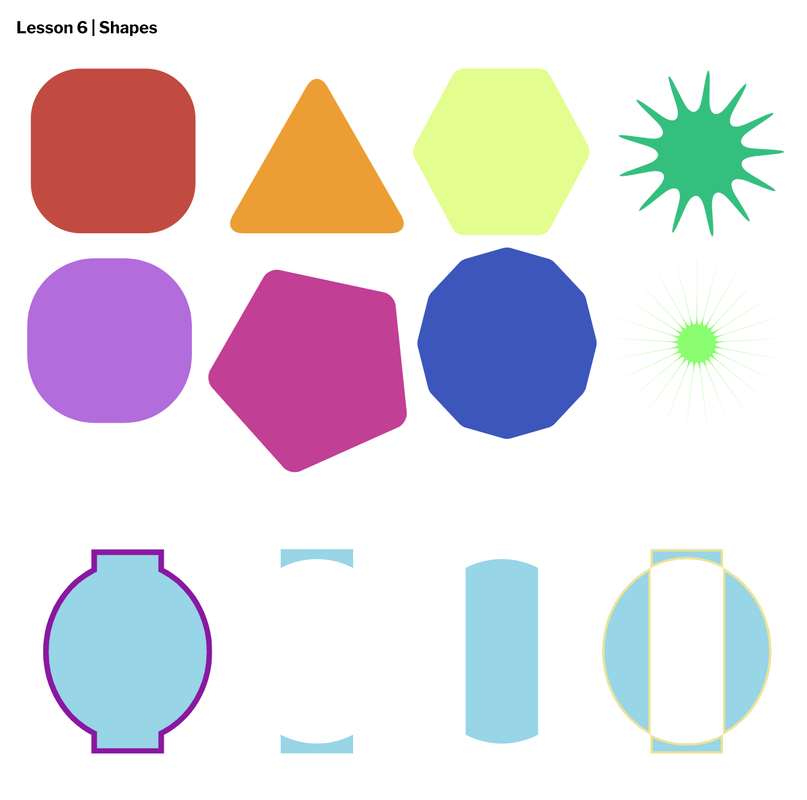 In this lesson, I learned how to align shapes in the center and to change layers by moving them up and down. The shortcuts I learned was command up and down which is moving which layers to go up or down. I also learned that command + g makes a group in gravit. 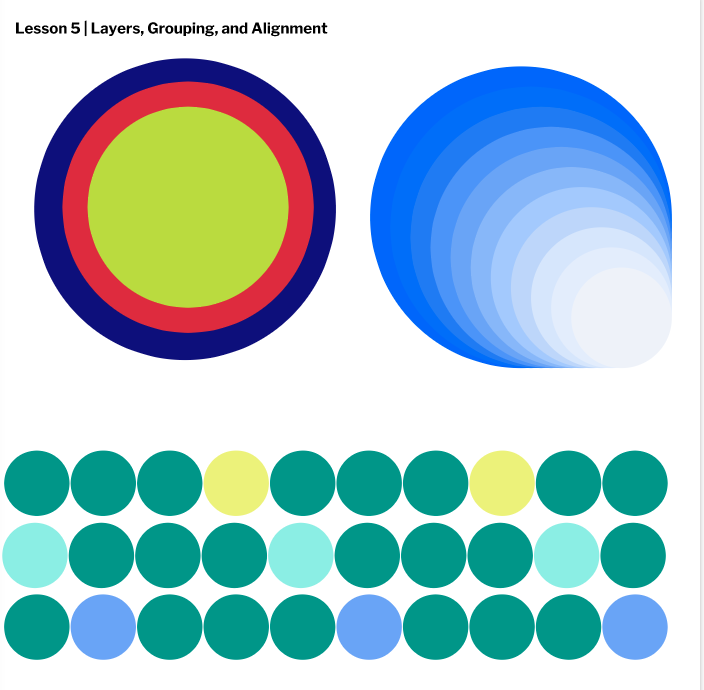 Today I learned how to fill in borders and how to change the thickness of them. I also learned how to changed the transparency of the shape and how to create dash borders around objects. I think this was one of my favorite lessons I did so far. 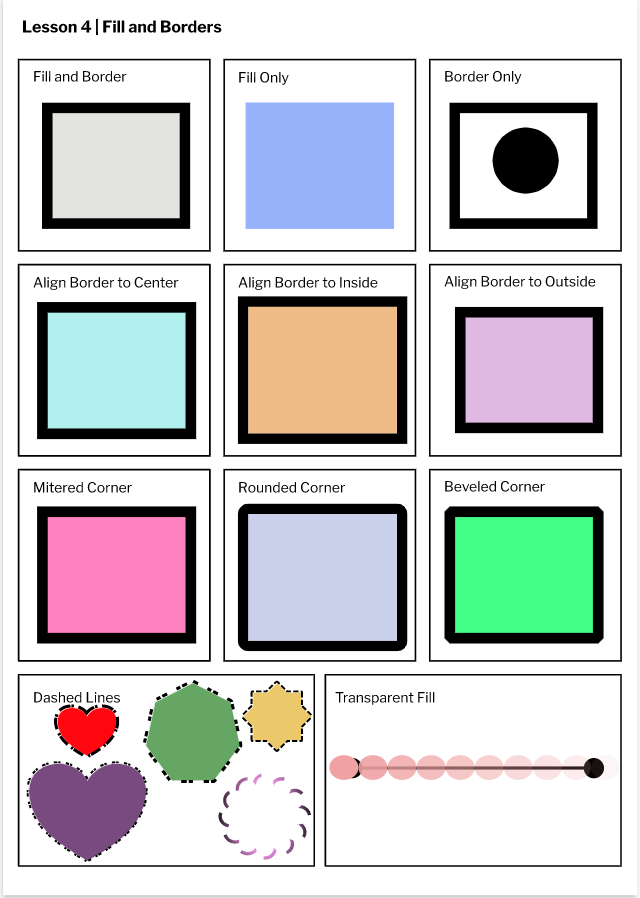 I learned how to make shapes and to shape them using the pointer tool and the subselect tool. I also used many shortcuts such as "V", "D", and shift. 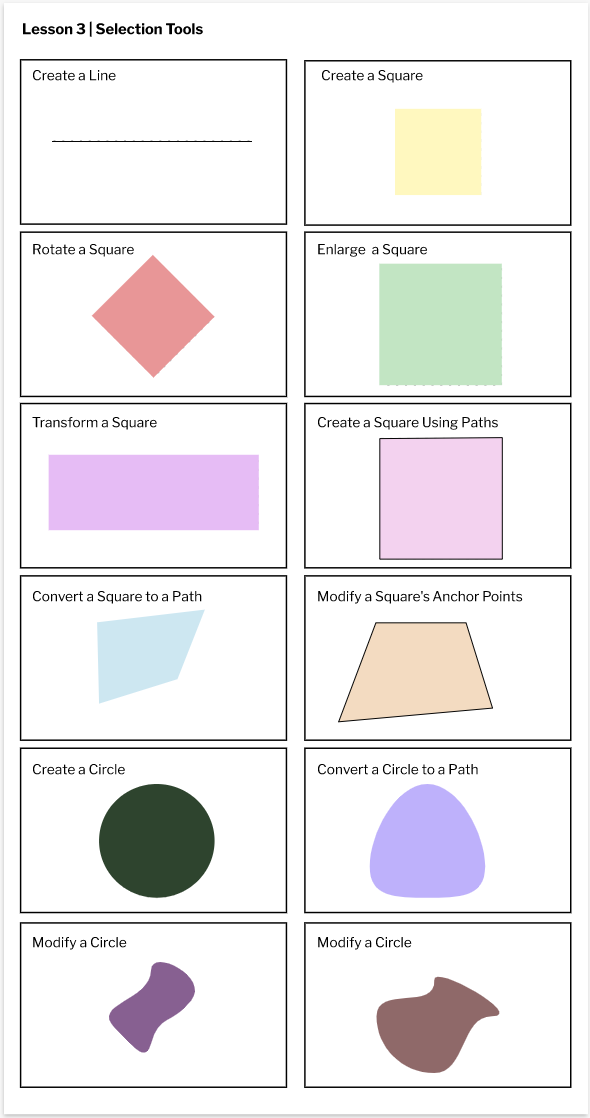 From Gravit I learned that you can create pages in different sizes. You can also duplicate them and do many cool options on Gravit. When I created the account, I had no clue what to do, and was really confused at first. But later on, I got to know what were some basic steps to do in Gravit. A shortcut I learned was to make another page. You need to press "t" to make a new page in Gravit. 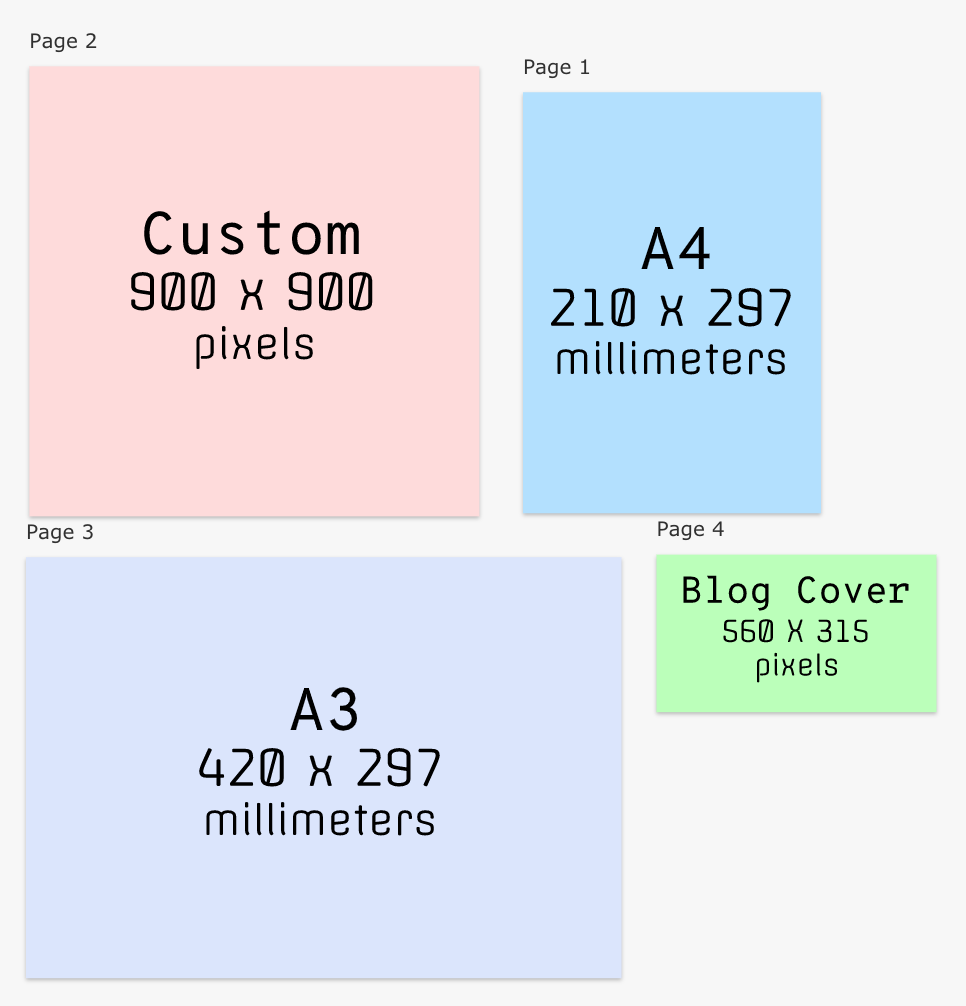 |
Archives
April 2021
Categories
All
 This work is licensed under a Creative Commons Attribution-NonCommercial-NoDerivatives 4.0 International License. |